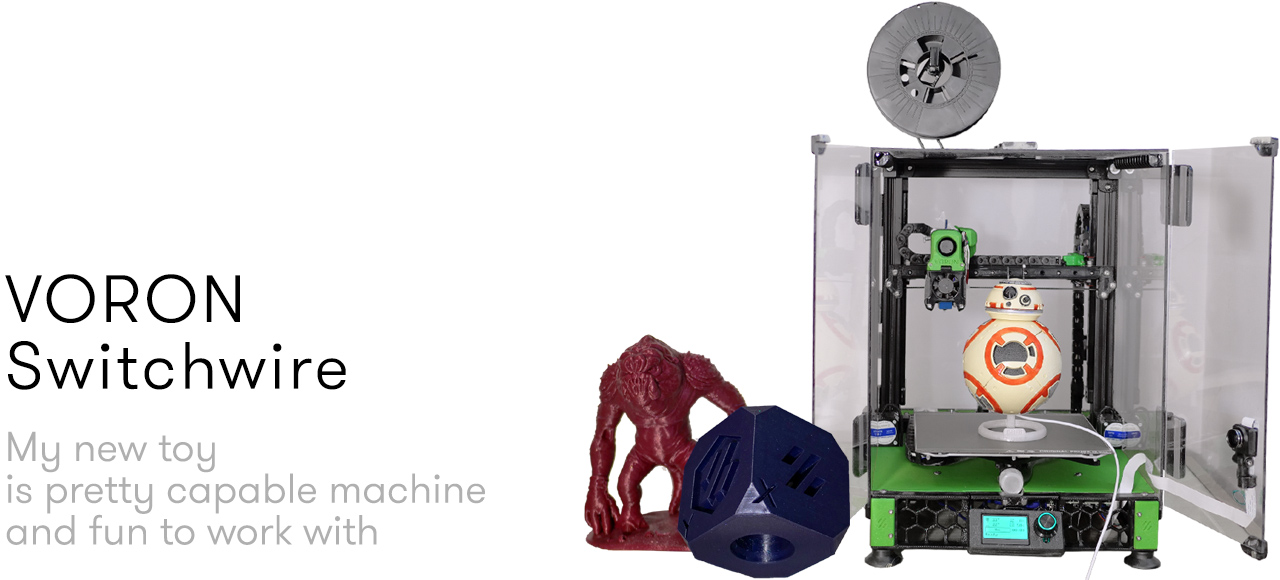
If you hear for the first time about Voron, go to their website at vorondesign.com. Here you can see the printers they design, support, and upgrade. The Voron team is mainly known for its excellent CoreXY DIY machines. Voron 2.4 is currently the flagship and the tiny Voron0 is their fastest-growing 3dp build. Each of their printers is supported and you’ll find CAD files, STLs, BOM, and a manual on how to build it.
The newcomer Voron Switchwire was released in late August 2020 and surprised the entire community because it had a moving bed. It is not a conventional Prusa type of printer though, but a CoreXZ machine. The gantry doesn’t move on leadscrews. It uses belts in a similar arrangement to CoreXY printer but moves the gantry on XZ instead of XY.
The build volume is 250 x 210 x approx. 240 mm. The linear motion on all axis is based on 12mm linear rails.
Voron SW – Advantages of the CoreXZ
The CoreXZ kinematics allows very fast motion on X and on Z and eliminate all limitations and issues you may have with lead screws. A slightly bent or desynchronized lead screw leads to nasty patterns and artifacts on your prints.
The fast speed on Z makes Voron SW the perfect printer for parts that require Z-hops. You can go 100 mm/s on Z if you want. This allows having bigger Z-hops when needed with less impact on print time.
On the minus side, I can only guess that the CoreXZ will require more maintenance/replacement of the belts. At the time of writing, my Voron SW served for nearly 3 months and the belts are fine so far. I know though that eventually I will have to reverse or replace them. I believe it is important to buy quality belts for this machine. Gates is fine. I use the high-temperature Gates belts because they seem a bit stiffer than the regular ones.
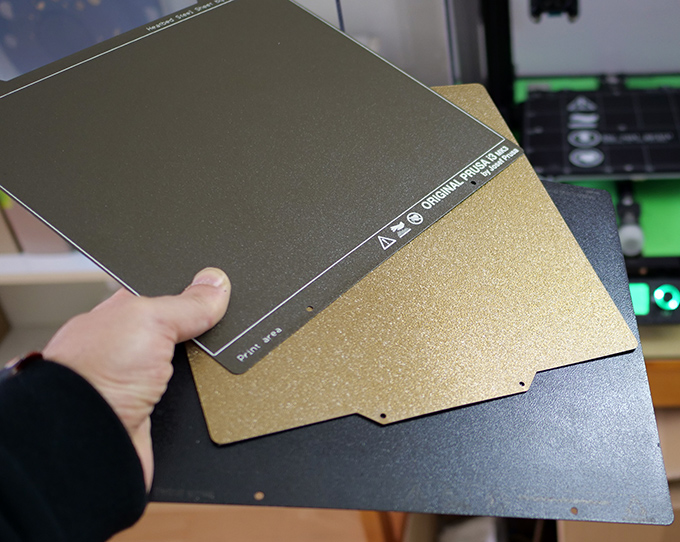
Voron SW – MK52 hotbed
For some, having a moving bed would be a disadvantage. Not for me. On this type of small printers, the hotbed is still quite light and brings more than it takes – simpler mechanics and easy ABL.
The first version of Voron SW is designed to use the MK52 bed from OriginalPrusa MK3/MK3s printers. This is a light magnetic hotbed. It works with a steel spring sheet with PEI coating and can go to 110°C long run. I went with the Trianglelab MK52 equivalent though, because of the price and because they claim it can work at 115°C.
Voron SW – Afterburner Clockwork direct drive
One of the main “selling” points of Voron Switchwire for me was that it comes with the Afterburner direct drive designed by Voron. If you follow my blog or Youtube channel, you know I tested different extruders and toolhead combinations in the past. I found out the dual-drive extruder was perfect for my use, both in performance and cost.
The Afterburner Clockwork combines the advantages of the BMG dual drive with the versatility of using a number of excellent hotends – V6, Dragon, or Mosquito. All this is packaged in a great-looking design. So, I adopted it right away and even modified it to work on my custom CR-10.
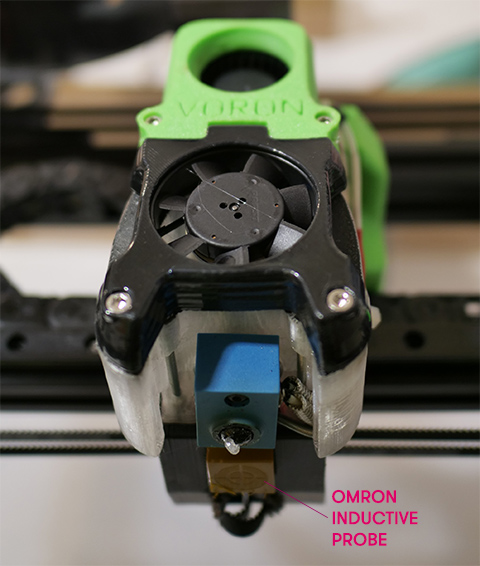
This toolhead is equipped with 4020 blower fan for the part cooling and a 4010 fan for the hotend.
Behind the nozzle is the inductive proximity sensor. It assures very fast mesh probing (much faster than a BLtouch can do) and is also used for Z homing.
Voron SW – electronics and firmware
When I built my SW I went with the prescribed control board at that time SKR E3 mini V2. It is a cost-optimised 32-bit board with 4 integrated silent stepper drivers TMC2209. The board runs very well, however, if I was starting my build today I would use the newer SKR E3 Turbo – it has 5 stepper drivers and can run two extruders. It is nice to have because there is a Y-filament splitter mod for the Afterburner that allows printing bicolor models using 2 extruders.
Voron Switchwire runs on Klipper as a standard, but it should be possible to install Marlin also. Klipper requires a Raspberry Pi with Octoprint or MainsailOS installed.
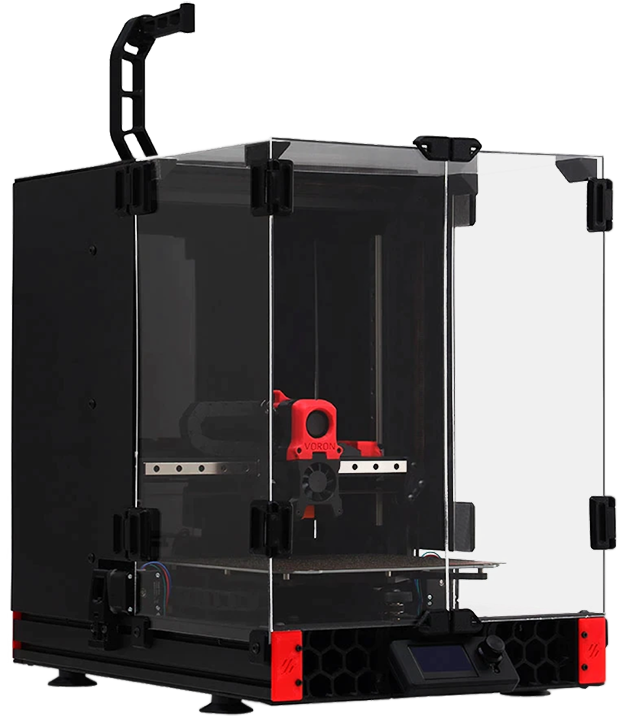
Voron SW – enclosure
Do you print ABS? Voron Switchwire is an enclosable printer by design and allows to print ABS and small PC parts. Voron provides all the drawings (DWG) to cut the enclosure panels on a router, or you can buy them on the net for around 100 EUR. I built a slightly different enclosure though:
Voron SW – is it easy to build?
Is it easy to build? Compared to other Voron printers the Switchwire is the easiest to build. As for any such project, your success, budget, and timeline depend on your own abilities to organize your supplies and execute the technical works. Aliexpress is a great resource to find parts, printed parts and sets for Voron SW, however, if you want to master any aspect of the mechanics and the electronics you will need to use various suppliers. Voron Discord is the best place to find information and feedback from other users about a particular part or setup.
On the technical side, such a build requires basic electrical knowledge, soldering skills, understanding of 3d printer electronics – control board, stepper drivers, MOSFETs, Raspberry Pi, etc., learning the basics of the Klipper firmware (this is a fast learning curve because there are many resources and documentation).
I had already background knowledge and skills for this project and for me it was easy and relatively fast to build the SW. It took me less than two days to assemble the printer once I had all parts.
Voron Switchwire – build it with a kit
One of the most time-consuming tasks is the sourcing of the parts. If you source each component separately it will take time, especially when ordering from Aliexpress. Some orders will arrive in a few weeks, others in up to two months. Some sellers offer a complete 3d printer kit for the Switchwire. If you go with the kit option it will be a huge time saver, however, you won’t have control over the quality of each component.
FORMBOT VORON SWITCHWIRE KITOne of the few available 3d printer kits for the Switchwire is from Formbot. It has a good price/quality ratio.

Conclusion
I will not conclude my review yet and will give this printer more time to prove it is reliable and maintenance effective. So far the Voron Switchwire has been an excellent machine and I look forward to new developments and updates from Voron.
The total cost of this printer was around 650 USD, but depending on the components you choose the price may vary. It is not a cheap printer if you compare it to an Ender, but it could be cheaper than an upgraded Ender for this level of performance.
Update, October’21
I use the Switchwire for 1 year now. It has thousands of print hours and is a very reliable machine.
It is the easiest to work with 3d printer I have. The maintenance is minimal and I haven’t yet changed the belts.