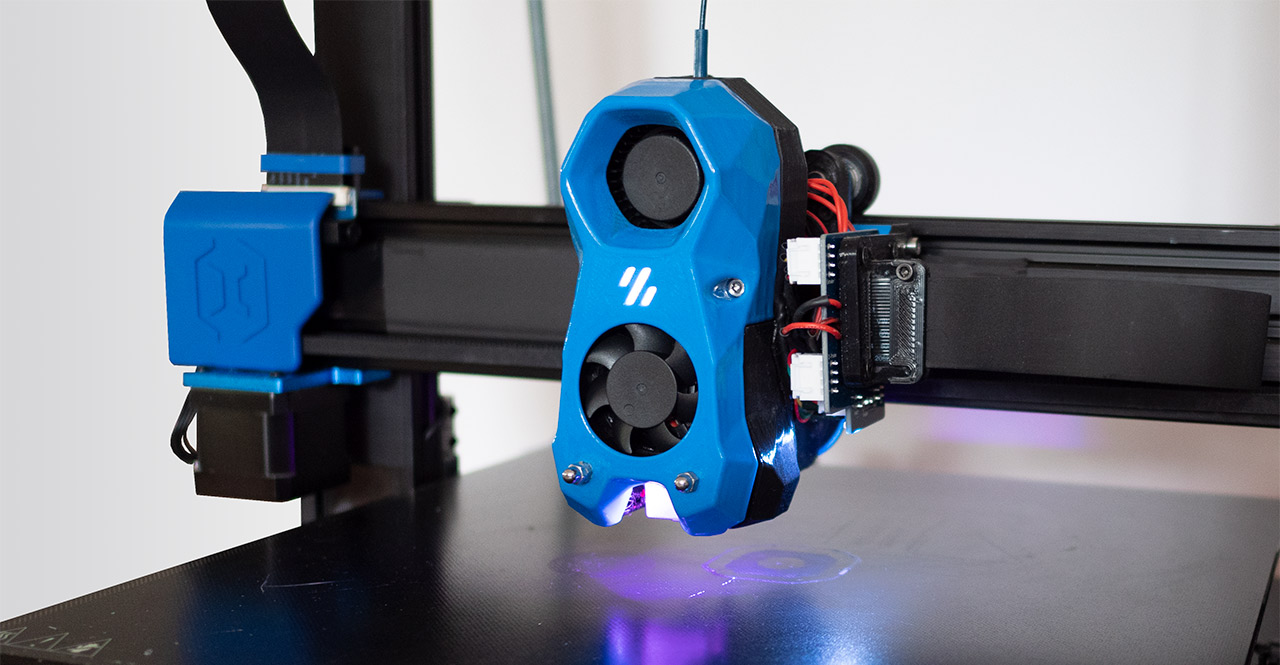
After the initial hands-on review of the Artillery Sidewinder X2 I started upgrading the 3d printer. I installed rod stabilizers and brackets to eliminate the Z-wobble and I changed the firmware from Marlin to Klipper. Now is the time for a more advanced upgrade. In this article, I will share my experience in replacing the stock printhead with Voron Stealthburner and Clockwork2 direct extruder.
What are the benefits of implementing the Stealthburner?
The stock printhead is great. I had around 200 print hours with it and it delivered consistent print quality. There were just 2 irritating things. It is relatively heavy, which limits the speed to around 50mm/s in order to get decent quality. Second, the part cooling was poor. I had a third reason to switch to the Stealthburner – minimize the maintenance cost by standardizing the spare parts on my 6 printers (4 Vorons, CR-10 already converted to Voron printhead, and this one).
The benefits of this upgrade are:
- Lighter direct printhead. The round pancake stepper is lighter than the stock one + a heavy metal mount is eliminated.
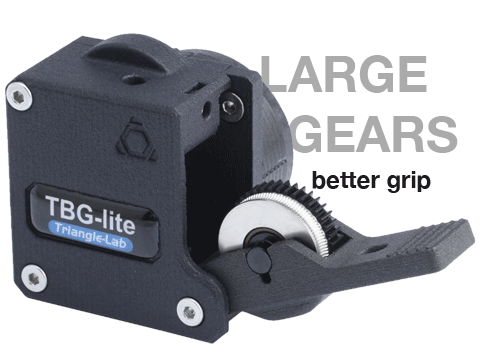
- Better extruder. The Clockwork2 direct extruder is equipped with dual drive gears.
- Better part cooling. Note: for best cooling, use a performance 5015 fan. There are many low-quality 5015 fans selling on the web, that may not deliver a boost in cooling performance.
- Choice of hotends. Dragon, Phaetus BMO/BMS/Rapido, E3D Revo/V6, etc. Personally, I use V6 from Trianglelab and I buy separately the heatsink, the heatbreak, the heater block and the nozzle. This setup is reliable, cost-optimized, and allows me to go up to 280 C with standard thermistor, and much higher with HT thermistor.
- Badass look. Though I personally prefer the clean design of the original Voron Afterburner, most people think the futuristic Stealthburner is looking better. It is equipped with 3 internal RGB or RGBW LEDs (1 in the center, 2 at the nozzle) and it certainly gives a kind of uniqueness to the machine.
How to upgrade the SW-X2 with the Stealthburner?
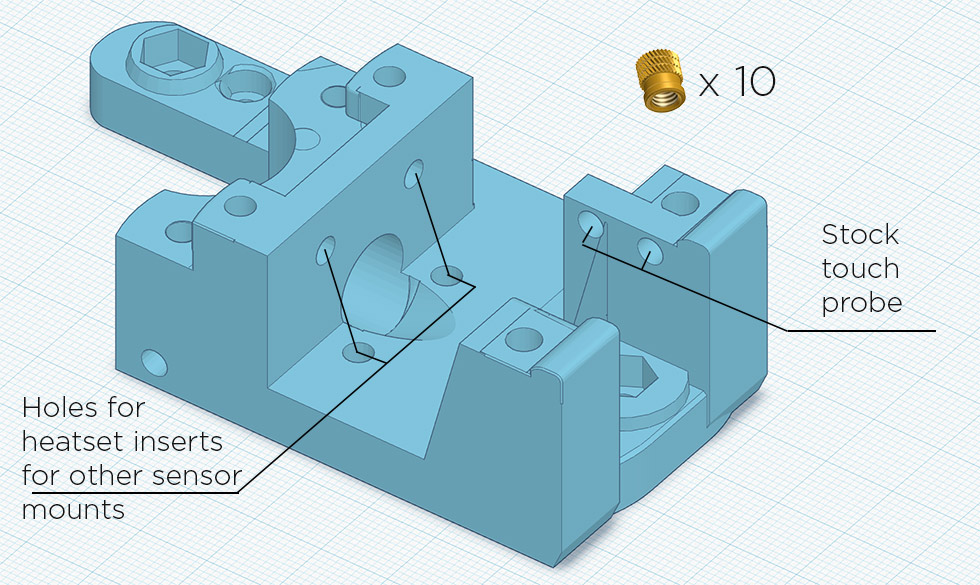
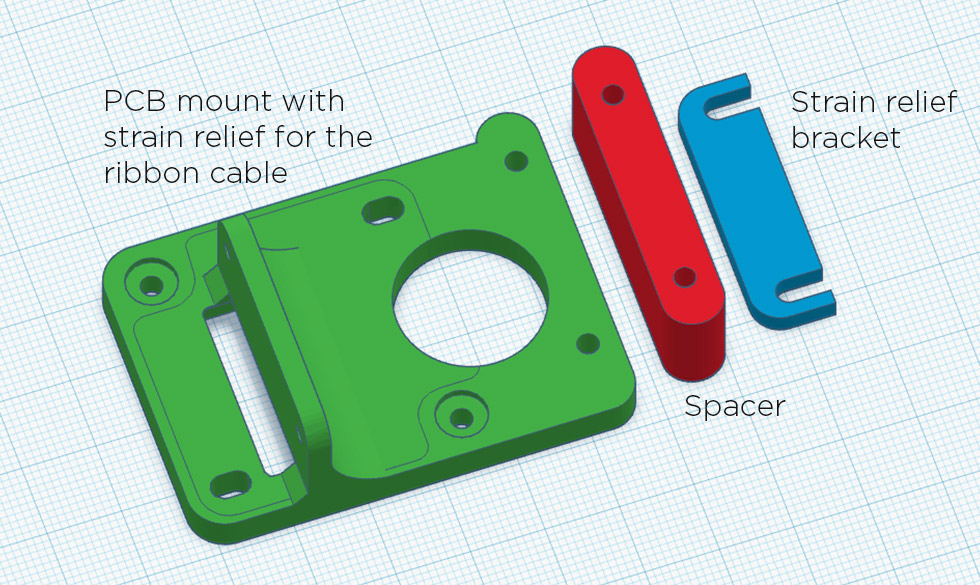
My adaptation for the X2 consists in designing mounts for the Stealth Burner and for the original Artillery toolhead PCB. You can download these parts from Thingiverse.
All other components are the standard ones and you can download the STLs from Voron’s GitHub. Voron provides also an assembly manual and Klipper macros for the RGB lighting. The Stealth Burner is still in beta at the time of writing, but the mount should be compatible with any version of it.
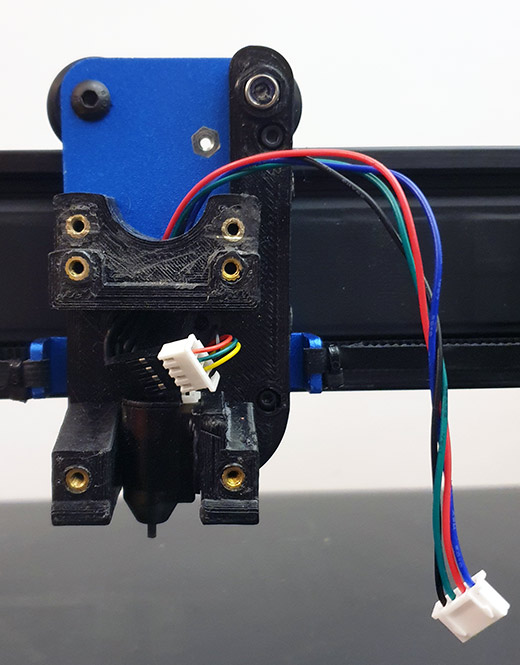
If using the stock touch probe you’ll need to extend its wires.
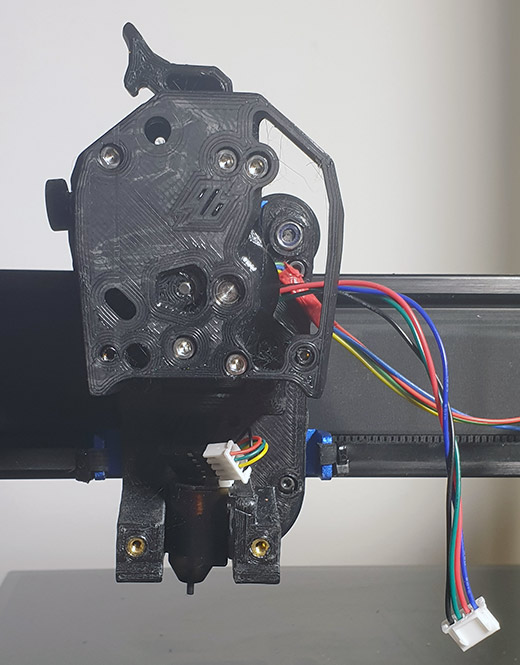
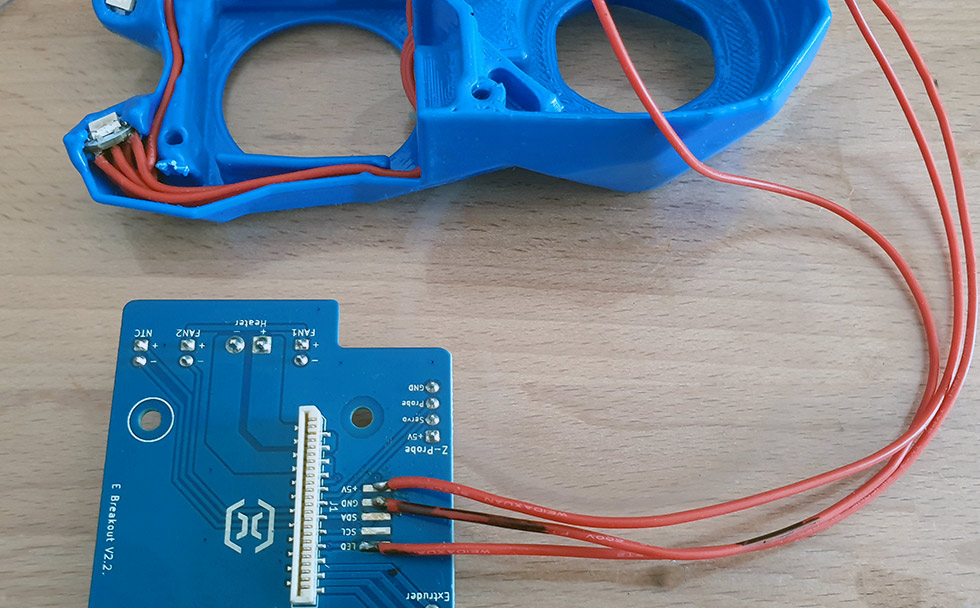
I did this the dirty way. The best would be to solder a connector here. When connecting this way, the PCB LED and the central LED of the Stealthburner will have the same index (same color), so the total count of the LEDs chain is 3 (not 4).
Additional components
In addition to what is specified by Voron in their assembly manual, you will need some extra screws.
2 x 35mm M5 bolts for the V-wheels (I cut 40mm bolts).
2 x 20mm M3 bolts for attaching the PCB holder and spacer to the adapter mount.
6 x 10mm M3 bolts and 6 x M3 nuts for attaching the PCB and the strain relief bracket.
1 or 2 x 6mm M3 bolts for attaching the stock touch probe (I used just one screw).
If you are not equipped for soldering the LEDs check this pre-soldered solution. I personally haven’t tested it and you may need to extend/shorten some wires, but the most difficult is done.
My Klipper configuration file
It is possible to adapt the Marlin firmware for the new hardware, however for ease of use, I switched to Klipper a few years back.
On this printer I run Klipper on an old phone with a cracked screen, using the Octoprint port for Android – the Octo4A app. It runs smoothly and allows me to control the printer both from a PC and from the phone. This setup allows me to use Octolapse with the phone camera for producing HD timelapse.
Here is my Klipper configuration file. It is not perfect yet, but If you are interested in this mod, you’ll have a good starting point for your own implementation.
Artillery Sidewinder X2 is selling on:


Conclusion
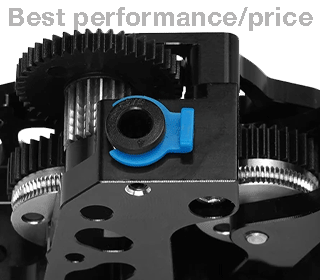
Is this upgrade worth it? The cost is relatively high (50-60 USD without the cost of the hotend). Although there are some benefits, the stock printhead is performing also well and there is no enormous performance boost.
So, upgrading the SW-X2 with the Stealthburner is for those willing to tinker and play with the machine. On other hand if modding 3d printers for the sole purpose of enhancing/customizing the machine is not your thing, stay stock, this printer is already fine for PLA, PETG and TPU.