Voron Tap is a DIY ultra-precision optic sensor for auto bed levelling (ABL) from VoronDesign. Its design allows bed probing with the nozzle. When the nozzle touches the bed, the complete printhead moves up on a small linear rail until it triggers an optic sensor. The precision is very high – 0.4μm (0.0004mm). It could be used on CoreXY 3d printers with stable hotbed, like Voron 2.4 or Voron Trident.
Voron Tap – the original design
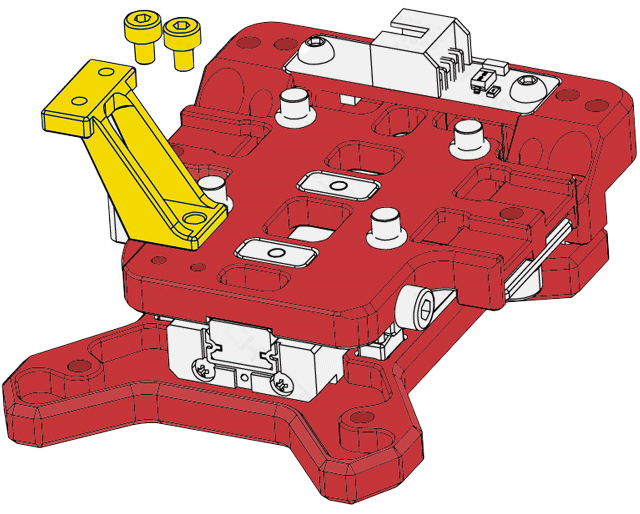
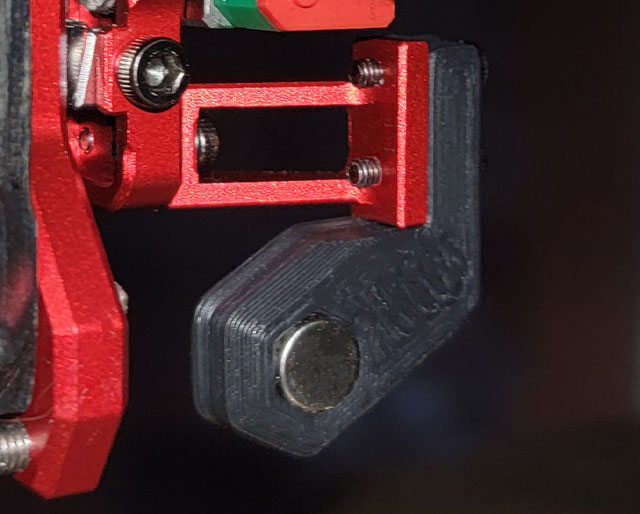
Voron Tap is a bed-probing carriage. It consists in a fixed part (red), moving part (black), an optic sensor, small MGN09 and some magnets. The fixed part attaches to the MGN12H linear rail carriage of the X axis and holds a vertical MGN09 rail on the other side. The moving part attaches to the MGN09 carriage, moves vertically when the nozzle touches the bed and triggers the optic sensor. A Stealthburner toolhead is attached to the moving part. In normal printing operation, the toolhead is held in place by a pair of magnets.
The original Voron Tap is based on 3d printed parts and the STL files are available on VoronDesigns GitHub.
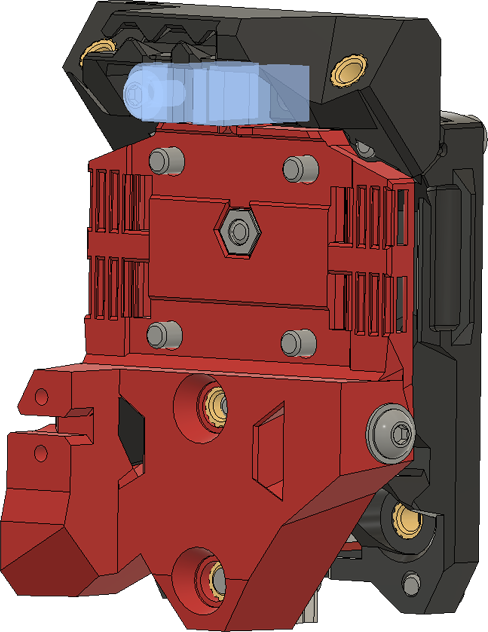
Attachment of the optic sensor (blue)
TBH, when I first learned about Voron Tap I decided to not use it on my printers. I was happy with the Klicky probe and I didn’t want to introduce additional complexity. The no go for me was the replacement of the solid original carriage with thinner suspended plastic parts, but also the additional play it introduces (worst resonance) that depends very much on the quality of the linear rail used.
On the plus side Voron Tap is crash resistant because the whole printhead moves up. I test often new components on my printers and I know how easy it is to crash the toolhead on the bed, just because I forgot to change a setting. This is the major advantage for me, as no other ABL solution is that safe regarding crashes.
CNC Voron Tap
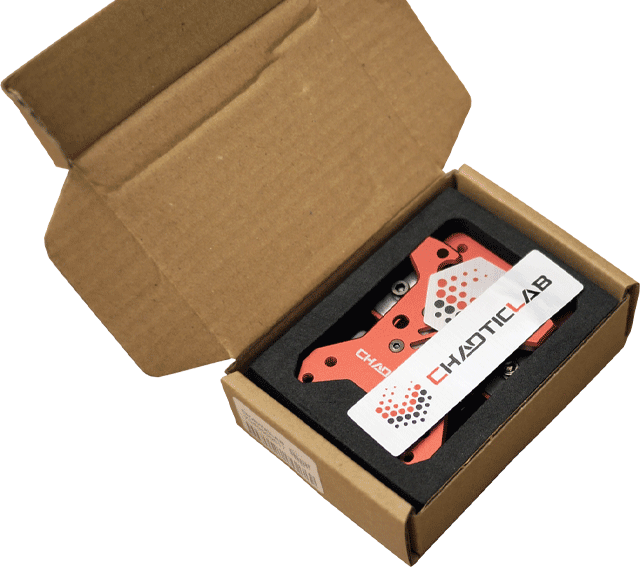
Few months back I found a CNC aluminium version of Voron Tap made by Chaoticlab and decided to test it. I bought it for arround 50 EUR and received it two weeks later.
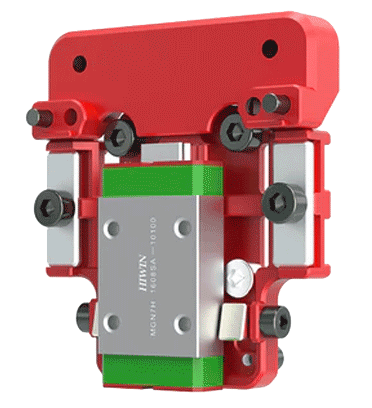
The CNC Tap is beautiful and quality product. At just 65 g, it looks and feels sturdy (no play) and integrates a Hiwin linear rail.
This is the V2 CNC Tap. It has few advantages over the first Chaoticlab version. The most important one is the Omron EE-SX4320 transmissive photomicrosensor which can be powered with 5 to 24 V. The V1 had a 5V-only PCB with optic microswitch.
The DIY Voron Tap relies on a MGN09H carriage, while the CNC Tap has a smaller MGN07H from Hiwin. It is more compact and it could be mounted without disassembling it. The Hiwin quality linear rail and the use of trapezoidal magnetic assembly assure better sturdiness and superior resonance characteristics than other CNC Taps on the market.
Where to buy the V2 CNC Voron Tap
Chaoticlab products are sold on Amazon and by Aliexpress sellers.
Check them all to find the best current price.
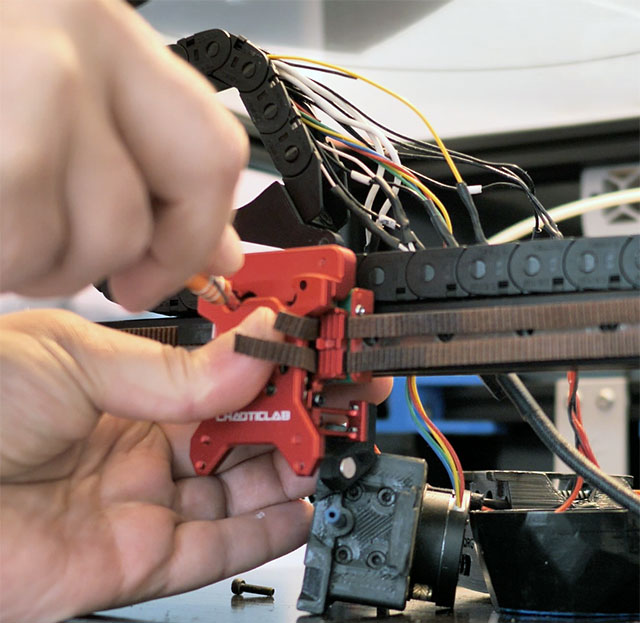
CNC Tap installation
The installation is straight forward, because the CNC Tap comes fully assembled and it doesn’t require to take it apart. There is no installation manual in the box, however Chaoticlab provides a PDF step-by-step guide on their GitHub.
Mounting the Tap on the MGN12 X rail is as easy as the installation of the stock carriage. The most tricky part is to re-tighten your belts with equal tension, which is essential for the printing quality.
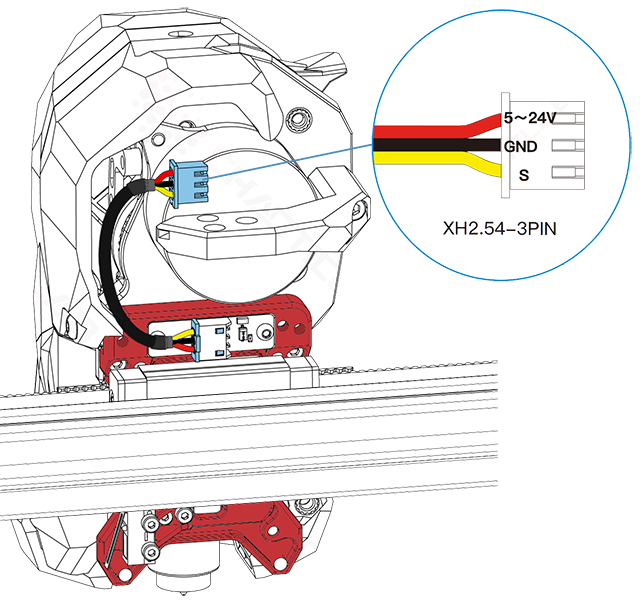
CNC Voron Tap – wiring
If you are coming from the standard inductive probe in Voron Afterburner/Stealthburner you already have 3 wires that could be used to power the Tap PCB (5 or 24 V) and for the signal to the control board. If you were using the 2-wire Klicky probe, you must add a 3rd wire in your cable chains.
The supplied connection cable is from the tap to a toolhead PCB board. If you dont use a PCB tool board like me, you can either change the connector to microfit or make a wire-to-wire connection to the wires coming from the control board.
Voron Tap
firmware changes
There are a few changes you’ll need to make to your printer.cfg Klipper file in order to get the Voron Tap functional. They are described here.
I also had to modify my Print_Start gcode. I implemented the following sequence:
– heat the bed to the first layer temperature;
– heat the nozzle to 150 C (managed by the script in the firmware changes);
– homing XYZ, then Tilt Adjust
– heat the nozzle to the first layer temperature and start printing.
[gcode_macro PRINT_START]
gcode:
    {% set BED_TEMP = params.BED|float %}
    {% set EXTRUDER_TEMP = params.EXTRUDER|float %}
    M117 Homing...                 ; display message
    G28 Y0 X0 Z0
    M190 S{BED_TEMP}
   Z_TILT_ADJUST
   M109 S{EXTRUDER_TEMP}
    #Purge Line Gcode
#	    G92 E0;
#	    G90
#	    G0 X20 Y150 F3000
#	    G0 Z0.4
#	    G91
#	    G1 Y-120 E15 F1200;
#	    G1 X1
#	    G1 Y120 E15 F1200;
#	    G92 E0;
#	    G90

    G1 Z10.0 F400 ;move the platform down 15mm
    G1 X125 Y125 F3000
    G92 E0 ;zero the extruded length again
    G1 F9000
    M117 Printing...
CNC Voron Tap – conclusion
I have been using the CNC Tap V2 on my Trident for 3 months before writing this review. It is working great and as expected. The print quality is perfect and I see no patterns or artefacts on printed parts, that could be caused by the Tap. I believe it is well designed product and way better ABL solution than an inductive probe, but only time will show how durable it is. It works on all build surfaces and is extremely precise. Actually it is more precise than the resolution of your stepper motor 😉
If you are an advanced user, probably you would like to know what are the resonance characteristics with the CNC Tap. I saw many people publishing those and stating the V2 improved over V1 and other similar commercial variants of Voron Tap. Personally I have never established a resonance profile of my printer, as it is too dynamic and depends on many variables in the machine kinematics. I am not going to crazy accelerations either. What I can say is that at 2000 mm2/s acceleration it has the same print quality.
How does it compare to the Klicky probe? For me the Klicky is still the best value ABL probe. It is durable, precise enough for Voron standards, DIY and cheap. It saved me when the inductive Omron probes started failing on my enclosed printers. So, I love it. And I’m keeping it on the 2.4. For my Trident though I want the best and the V2 CNC Tap is just that.
Where to buy the CNC Voron Tap V2
Chaoticlab products are sold on Amazon and by Aliexpress sellers.
Check them all to find the best current price.