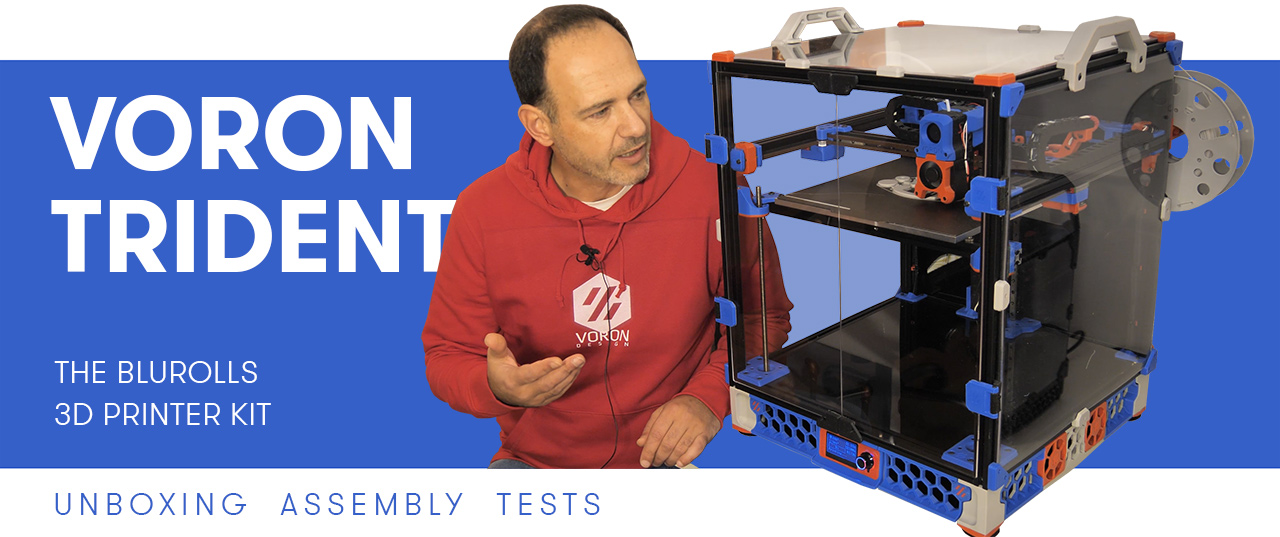
Voron Trident is the latest version and new name of the Voron1 DIY CoreXY 3d printer. It introduces a new feature – 3-point bed leveling. The 3-point bed leveling has become a must-have functionality in modern printers and you will find it also in RailCore and V-core3. Now that Voron has it, building a Trident was an easy decision for me. Voron has many other advantages over the other top DIY machines – it is fully enclosed, printable, and easy to upgrade parts, strong community.
Voron Trident – 3d printer characteristics
Standard build volume (X x Y x Z):
250 x 250 x 250 mm
300 x 300 x 250 mm
350 x 350 x 250 mm
Motion: CoreXY
ABL: 3-point bed leveling (Z-Tilt)
Toolhead options:
Afterburner or Stealthburner with direct extruder or bowden.
Supported hotends:
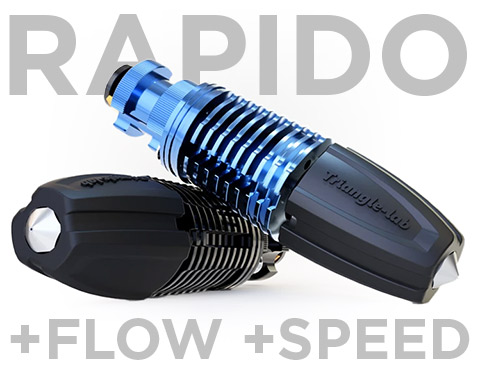
Dragon, Mosquito, E3D, Dragonfly, Rapido
The Blurolls 3d printer kit for Voron Trident
Every project to build a DIY 3d printer starts with parts sourcing. On the Voron website, you will find links to the manual, STL files for 3d printed parts, and a configurator and sourcing guide. You can source the hardware yourself or buy a kit from 3rd party suppliers.
Blurolls is one of the kit builders for Voron printers. They sell on Aliexpress and I work with them because their kits have quality components – Hiwin linear rails, LDO motors, Gates belts, etc.
Check the Blurolls products and kits for Voron Trident.
Voron Trident – assembly and tests
Building a Trident is relatively easy compared to the other Voron coreXY printers – the Voron Zero and the Voron 2.4. I would rank the assembly difficulty on the same level as the Voron Switchwire – it is just a bit more time-consuming.
I used only the official Voron manual for the assembly.

