2021 was a great year for the Voron community. First came the upgraded version of the Vzero and in August was launched the Trident. Finally, we’ve got a Christmas gift – the Stealthburner and a redesigned direct extruder – the Clockwork2.
What is Voron StealthBurner
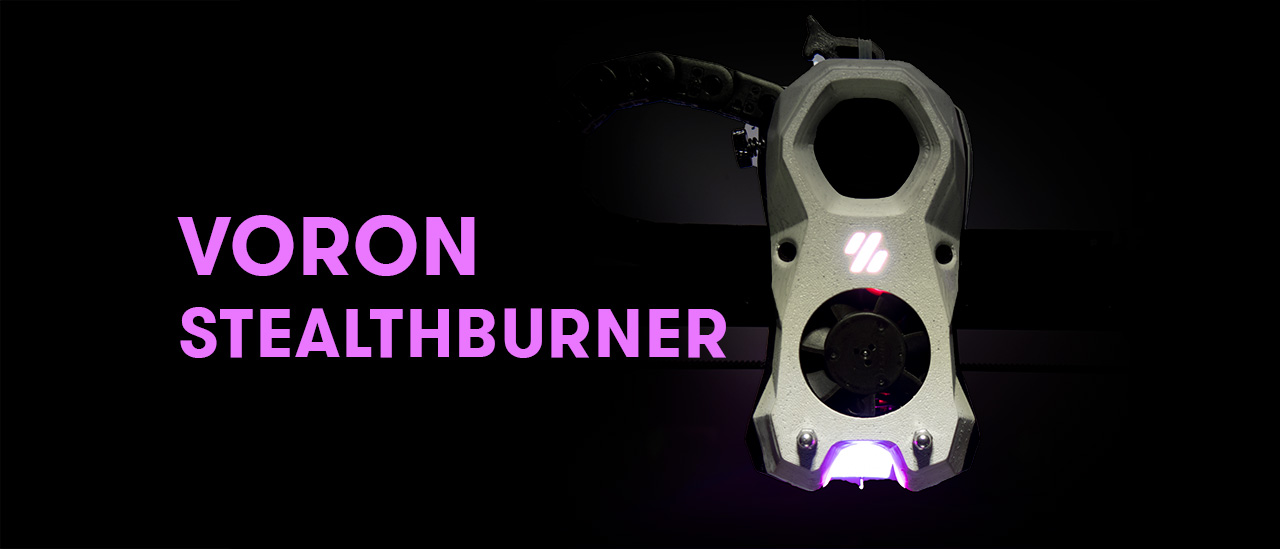
It is a new toolhead that is an upgrade or an alternative to the Afterburner. It can be installed on all Voron 3d printers except the Vzero. It integrates 1 x 5015 part cooling blower fan, 1x 4010 hotend fan, the hotend, and … 3 x RGBW diodes.
At the time of writing the Stealthburner is still in beta. Check the project status on Github.
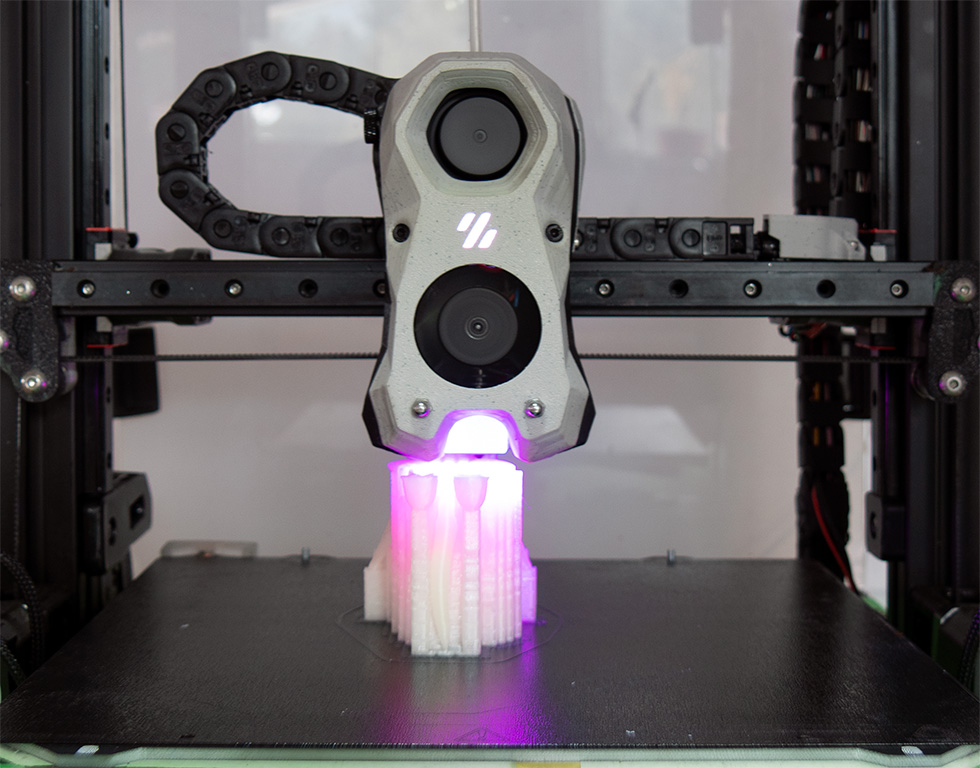
What are the advantages of the Afterburner printhead? Besides the new badass look, the main benefit is the improved part cooling. This is mainly important for high-speed printing with PLA.
TBH I didn’t find much of a difference at print speeds up to 100 mm/s. The part cooling is better only if using a high-end 5015 fan. Installing the fans is easy and similar to the Afterburner – the front panel of the 5015 fan has to be removed.
For the RGBW LEDs you can use any addressable PCB pixels with SK6812 or WS2812B chip on 5 V. The Adafruit Neopixel RGBW mini PCB button is best, however, there are many other similar products. The most difficult part for me was to measure the wire lengths between the LEDs and to solder them. Check this review for the SB RGBW LED wire harness.
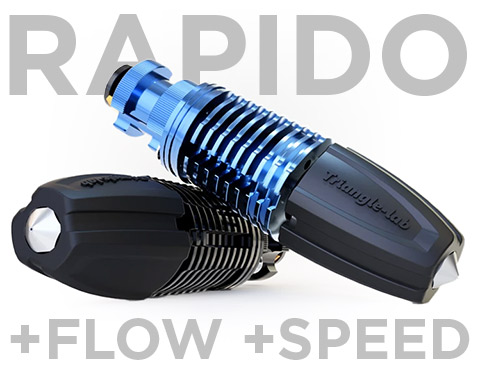
Part of the Stealthburner is a new hotend mount/part cooling duct that matches the design of the front body. Currently, it supports several major hotends – Phaetus BMS/BMO/Dragon/Rapido and E3D Revo/V6/Revo6.
Extruders for the Stealthburner
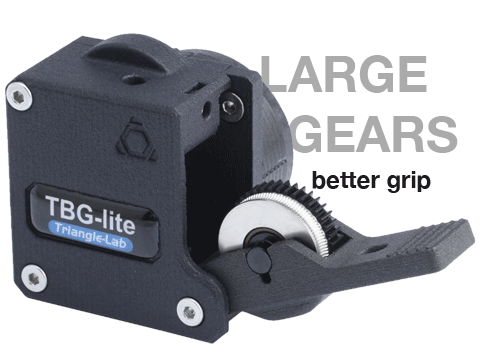
The “native” extruder for the Stealthburner is the Clockwork2 (CW2). It is a printable extruder that uses dual drive gears from Bondtech or Trianglelab. Compared to the previous CW1 extruder, the CW2 offers a straight filament path and larger space to fit the incoming wires and connectors. Its design integrates seamlessly with the Stealthburner.
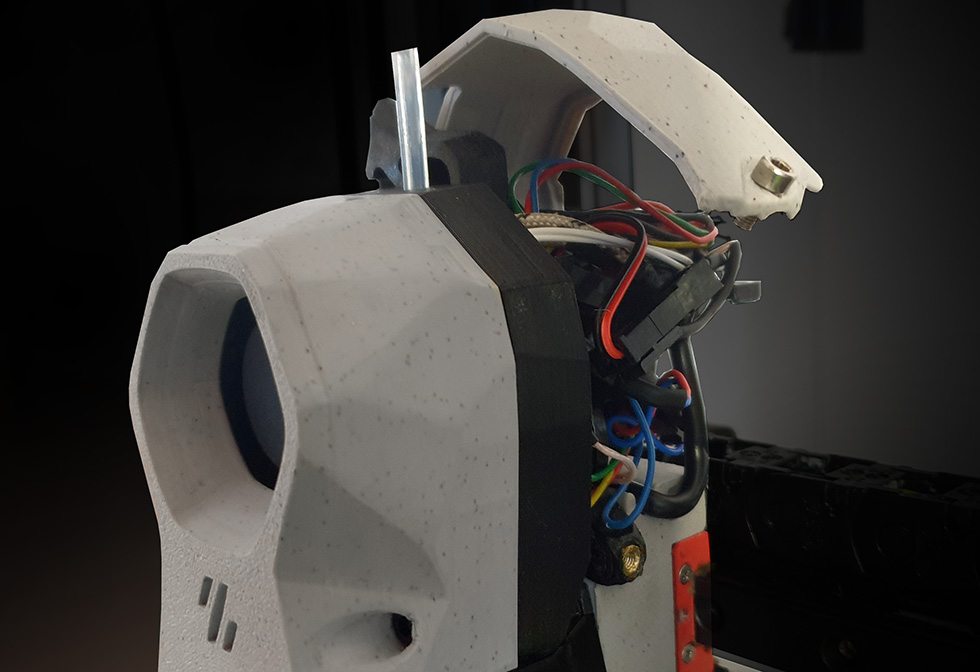
The stepper is now a more compact and light round 36mm / 20mm depth pancake with 10 tooth gear. With the dual drive kit the gear ratio is 50:10. I am using it now for 2 weeks and its operation has been very reliable.
Maintenance of the CW2 is also easier compared to the CW1. No more need to unscrew the energy chain in order to get access to the extruder screws on the back of the carriage. You can disassemble all components from the front.
It is possible to use the Stealthburner also with the previous Voron direct extruder, the CW1 or with the CW1 mods for Bondtech LGX/LGX lite and Galileo. This can make the upgrade less costly and you can keep the current extruder and motor, but get the improved cooling and RGB lighting.
That is what I did on my Voron 2.4.
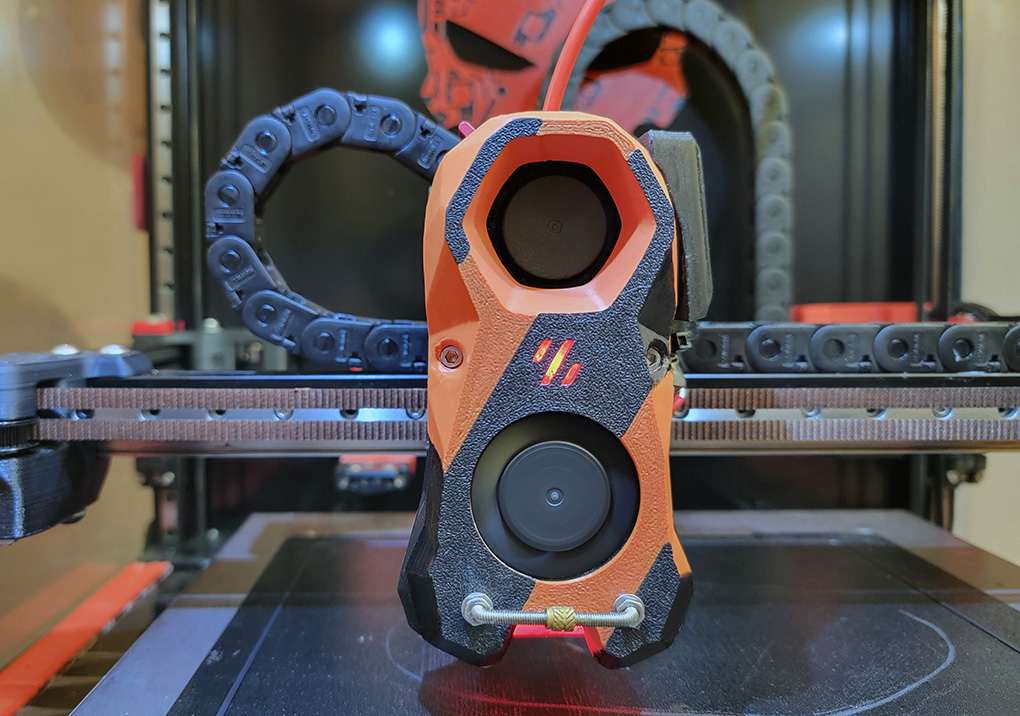
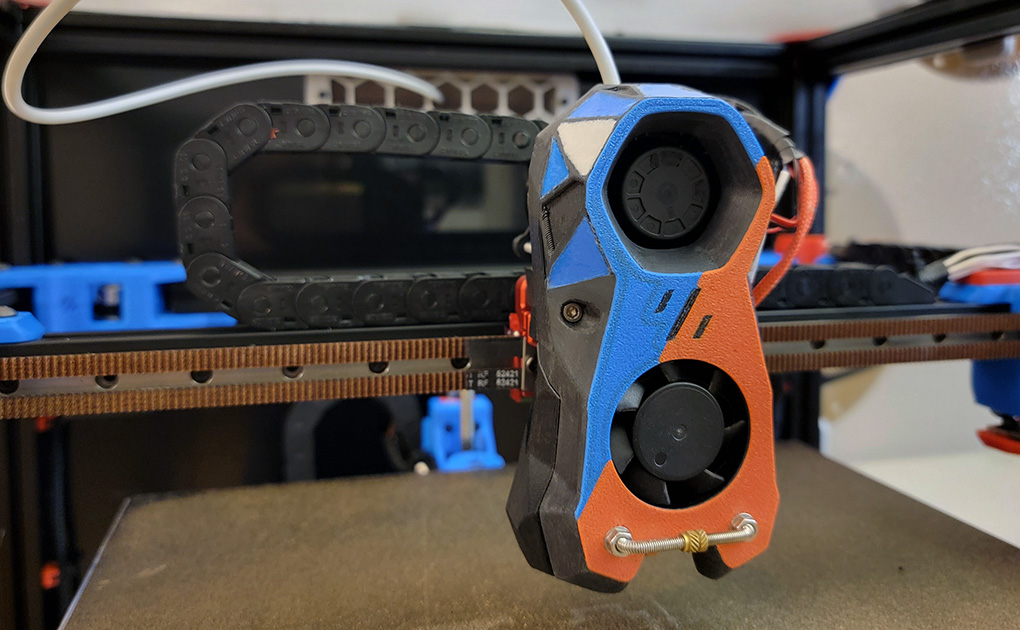
Is it worth upgrading to the Stealthburner?
If you build a new Voron it is a no-brainer – go with the latest Stealthburner. If you are upgrading an existing reliable printhead consider the cost of a new stepper/fan/LEDs (around $40), but also the time to add the new wires. So far, I have installed the full Stealthburner/CW2 on my Voron Switchwire only, because it was easy to add the 3 additional wires in the energy chains. It took me one full day to implement it.
I have also installed the Stealthburner/Clockwork2 on the Artillery Sidewinder X2. The funny thing is this upgrade was easier than on the Switchwire because the stock wiring had already wires for the LEDs.
In the end, it is a question of personal taste. Myself, I value the reliable operation and clean simple design of the Afterburner. I am not saying that the Stealthburner/CW2 is less reliable, but it introduces additional wires and LEDs – components that will require more maintenance in time.

